By John Thorne – Tue, 24 Mar 2009 10:00
]]>
Fully documented in Performance BMW!
The car was suffering from low levels of gloss
and was covered in swirl marks when the sun
shone on it. So first things first, I called Mike
and Martin from Crystal Clear Detailing to come
and perform a ‘CC Ultimate’ detail.
Read The Article!
]]>
The guys first inspected the M3 to see what level of correction was needed and quickly set about preparing the car with various brushes and cleaners. Even washing the car is a specialised task; two buckets are used with a lambswool wash mitt to prevent any further scratches and the engine bay was safely cleaned. Next, a clay bar was used to remove 1 years worth of tree sap, brake dust and tar so that the paint was perfectly clean and smooth to the touch. The amount of dirt that was bonded to the paint was unbelievable and the car was looking better already.
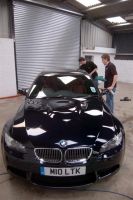
The car was then rolled inside and the extent of the scratches could be seen under strong lighting. Pretty bad for a one year old car [insert picture of swirls 2741]. The vehicle was taped up with masking tape to prevent the polish staining any plastic trim, the paintwork was measured using a paintwork depth gauge and were recorded on a laptop for future reference. Mike spent about half an hour testing different polish and pad combinations before the right one was selected whilst Martin made a start on the interior. 1 micron of lacquer was removed from the whole car (2 in bad places) leaving the paintwork 99% scratch free. Even the carbon fibre roof and the door shuts were polished! The leather was cleaned and conditioned to remove dirt and make sure its natural oils were topped up to prevent any cracking in the future.
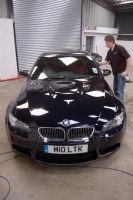
Polishing was the most time consuming process and took almost 6 hours in total, but once it was complete it was time for waxing. 2 layers of Glare Professional Sealant and 3 layers of specialised carnauba were applied to all of the exterior panels, the door shuts and the wheels to ensure that the M3’s new paint finish was protected in the best possible way.
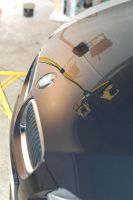
The final touches were then made; dressing the tyres, dressing any black exterior trim including the engine bay and giving the M3 a final buff with some quick detailer.
=”font-family:>
